
How to Install & Run EpsonNet Config on macOS Sequoia & Apple Silicon (M1–M4)
Mac users running modern Apple Silicon processors (M1, M2, M3, and M4 chips) under macOS Sequoia (15), Sonoma (14), or Ventura (13) can run EpsonNet Config v4.9.8 for Mac with full hardware discovery capabilities. Follow this deployment guide to install the package cleanly and bypass macOS Gatekeeper blocks.
Step 1: Download & Mount the Disk Image
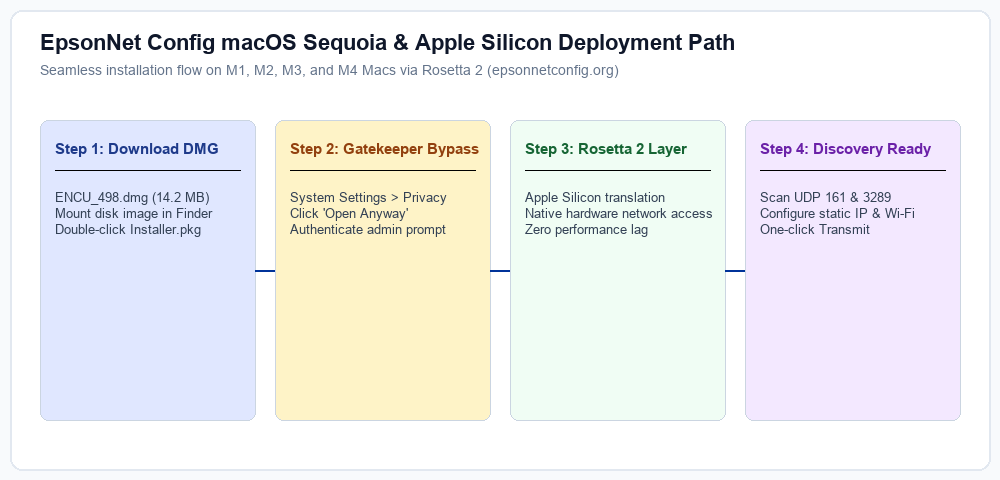
Download the official signed macOS package: ENCU_498.dmg (14.2 MB) from our verified download table. Once downloaded, double-click the .dmg file in your Downloads folder to mount the disk image volume on your desktop.
Step 2: Resolving macOS Gatekeeper Warnings
Because macOS Sequoia enforces strict notarization checks on network administration utilities, double-clicking EpsonNet Config Installer.pkg may present an alert: "Installer cannot be opened because Apple cannot check it for malicious software". To open safely:
- Open System Settings from your Apple menu.
- Click Privacy & Security in the sidebar.
- Scroll down to the Security section.
- Under "EpsonNet Config Installer.pkg was blocked from use", click Open Anyway.
- Authenticate with your Mac password or Touch ID to begin the standard installer wizard.
Step 3: Apple Silicon & Rosetta 2 Execution
EpsonNet Config v4.9.8 contains universal binary instructions that execute through Apple's high-performance Rosetta 2 translation subsystem. It retains full access to BSD low-level socket APIs required to broadcast UDP 161 and 3289 packets across local Ethernet and Wi-Fi networks.
Once installation finishes, launch the utility from /Applications/Epson Software/EpsonNet Config.app. Ensure that when macOS prompts for "Local Network" access permission, you click Allow.
Need EpsonNet Config Software?
Download the authenticated v4.9.5 for Windows and v4.9.8 for macOS directly from our official download table with complete checksum hashes.
Go to Official Downloads →